
March 28, 2026 · Minh Hoang
From Idea to Product: Our Miniature Workflow

How Infinite Builds Turns Concepts into Real Miniatures
Creating a miniature product is more than just 3D printing — it’s a full process of design, testing, refining, and storytelling.
💡 1. It Starts with an Idea
Focus on everyday objects (chairs, kitchen sets, planters), aesthetic decor (soft shapes, minimal style), and functional miniature pieces — something small but meaningful and visually satisfying.
🎨 2. Designing in 3D (CAD Stage)
Using CAD software (like Fusion 360): correct scale (usually 1:12), smooth soft shapes, print-friendly geometry, proper thickness to avoid breaking.

🖨 3. First Prototype (3D Printing)
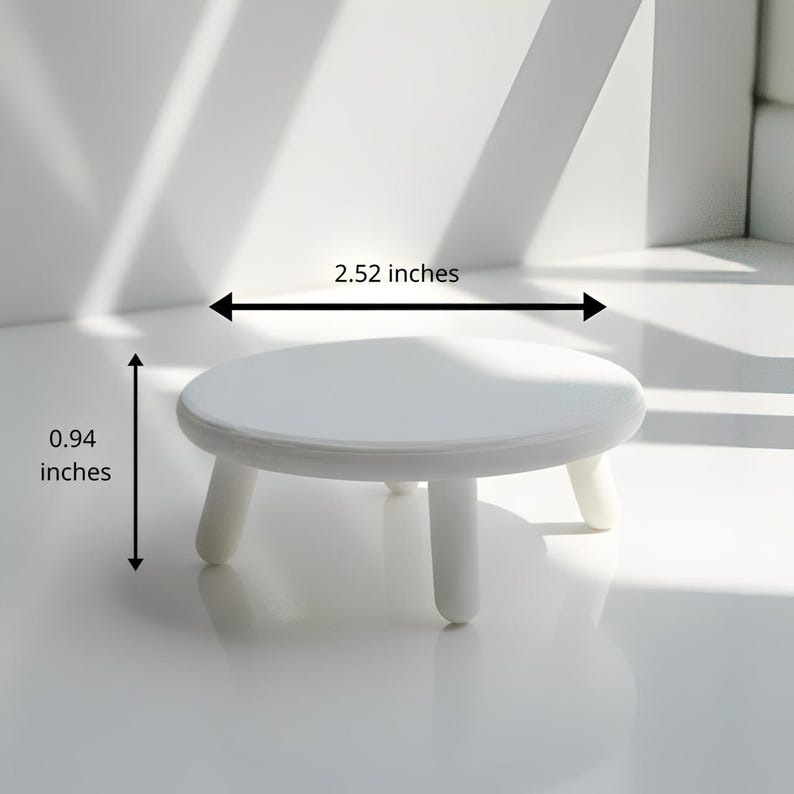
Testing proportions in real life, surface quality, stability, and assembly. A design that looks perfect on screen can feel “off” in real life — most adjustments happen here.
🔧 4. Refinement & Iteration
Adjust dimensions, improve curves, fix weak points, re-print multiple versions until the product looks right, feels right, and prints consistently.
🌟 5. Final Product & Styling
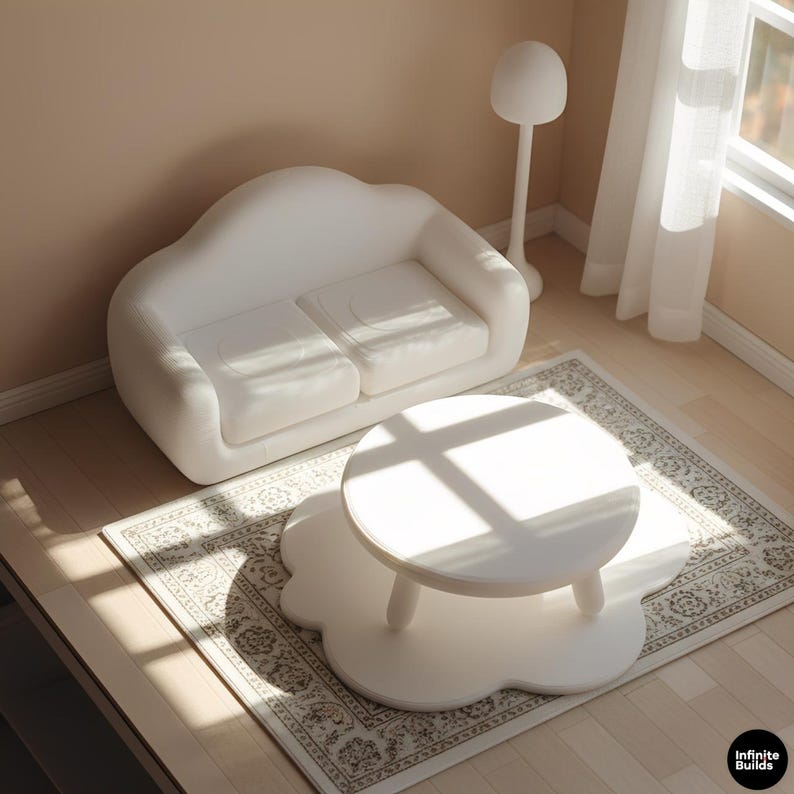
Clean, minimal setups, soft lighting (natural shadows), real-life context (desk/dollhouse) — helps customers visualize how the product fits into their space.
📦 6. From Workshop to Customer
Printed in small batches, checked for quality manually, packed carefully.
🧠 What Makes Our Workflow Different?
Infinite Builds designs everything in-house, tests every product physically, focuses on both aesthetic and usability, and builds for real miniature lovers.
🌿 Final Thoughts
From idea → CAD → prototype → final product, every step is intentional.